November 5, 2026
When you're planning a home renovation, every day counts. Delays in one stage can ripple through the rest of the project, pushing back flooring, painting, cabinet installation, and the day you finally get to enjoy your new space. Drywall sits right in the middle of most renovation timelines, which makes it one of the most important stages to plan carefully. Below, we'll explain how efficient drywall installations keep your remodel on track and what you can do to help the process move smoothly from start to finish.
Understanding the Drywall Timeline
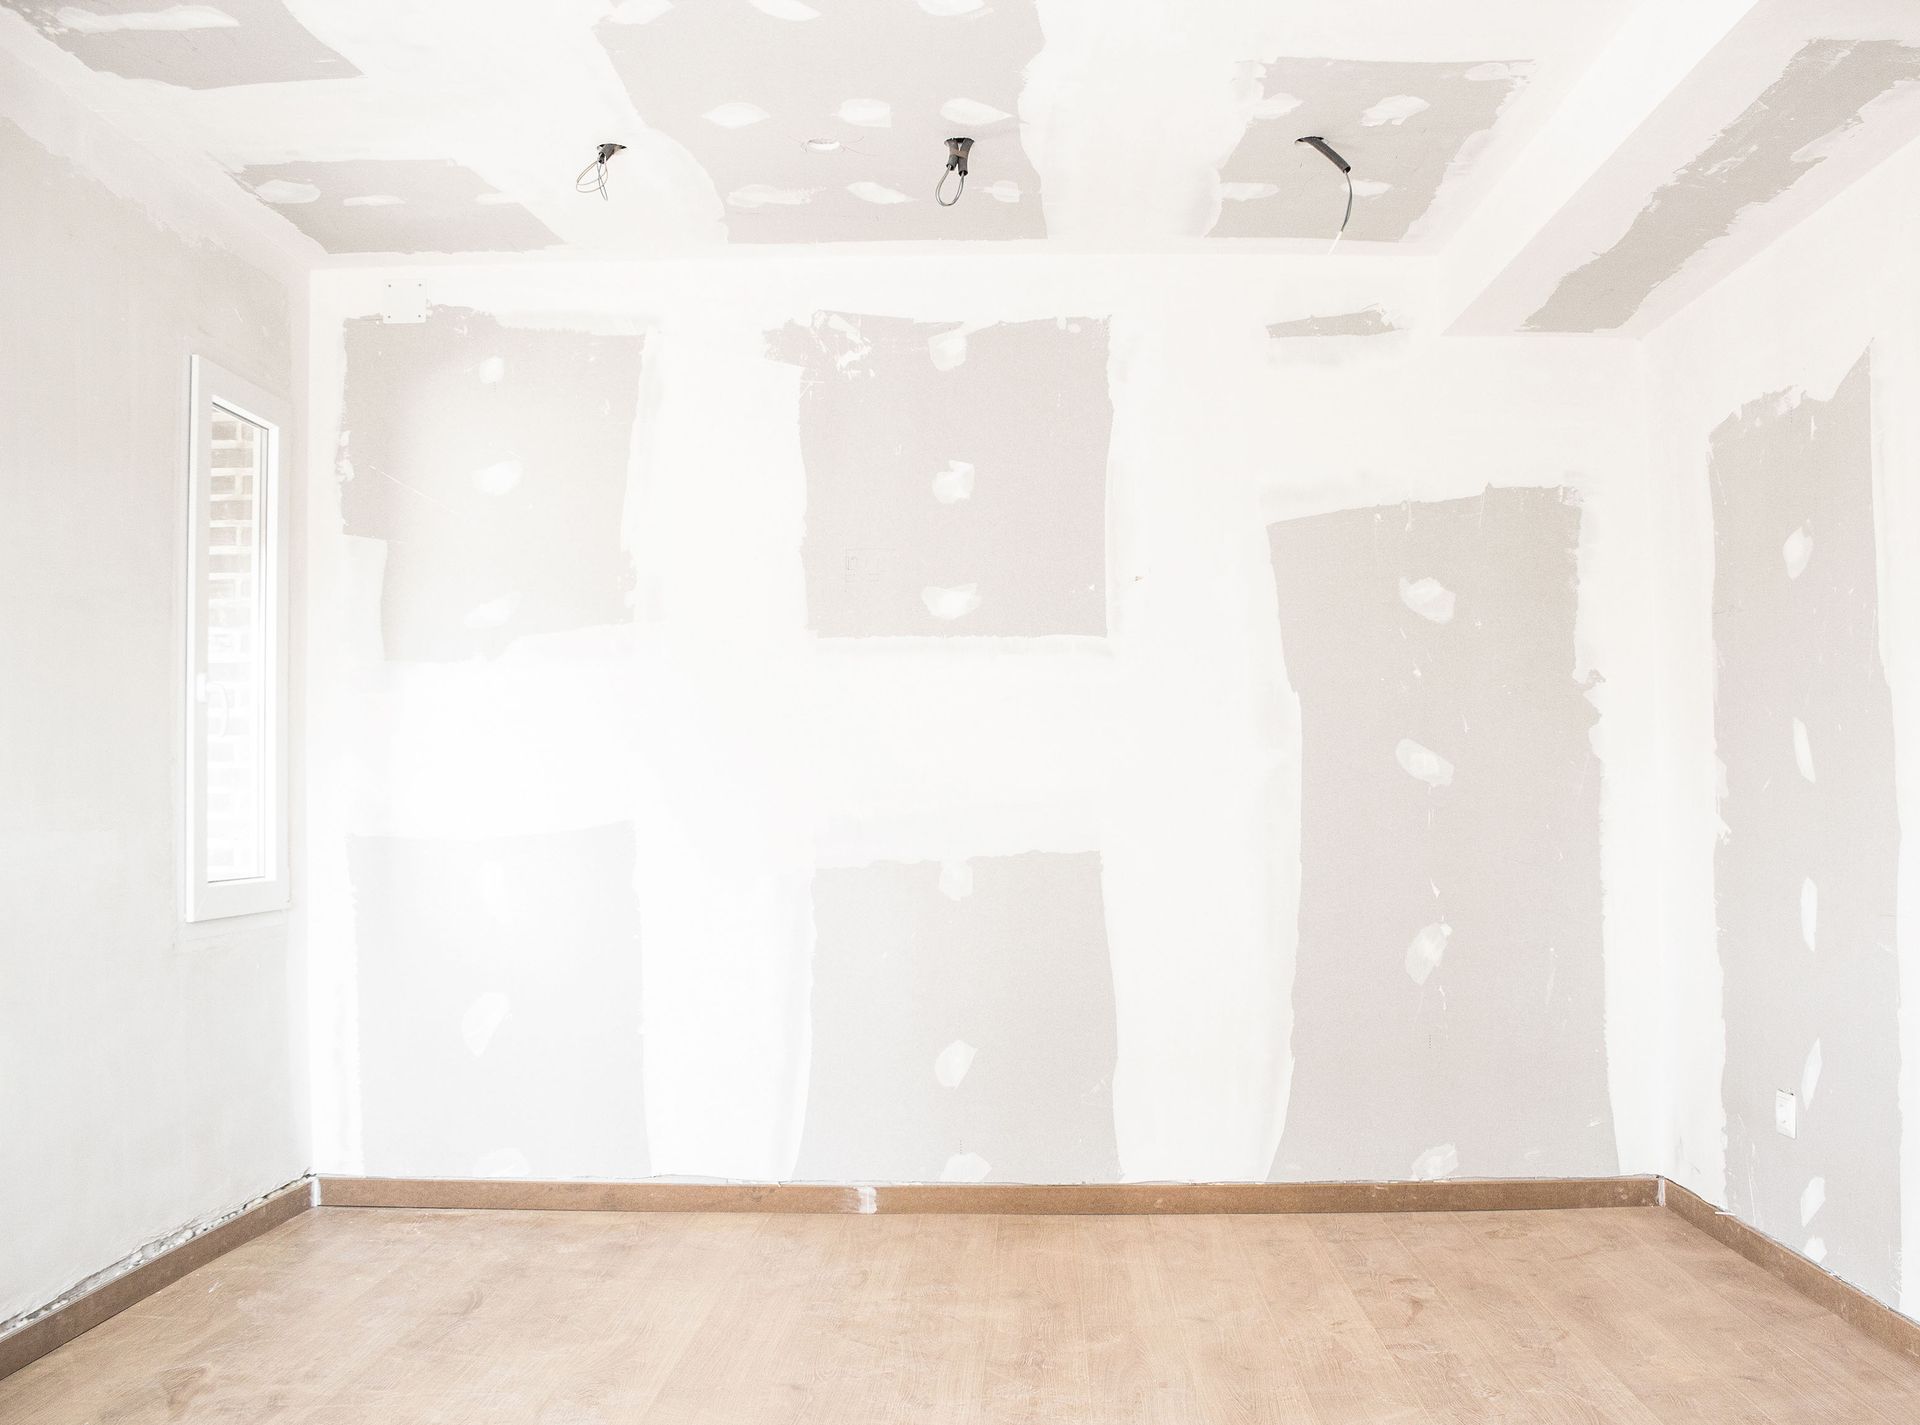
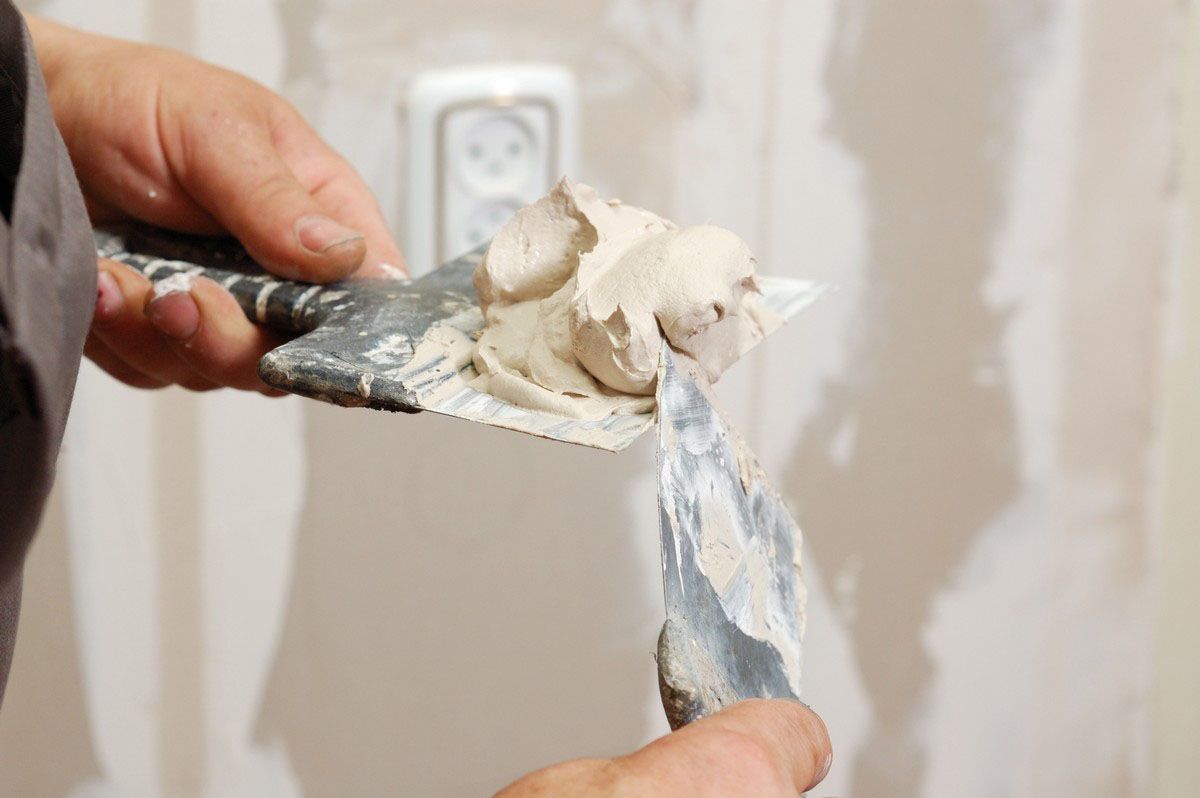
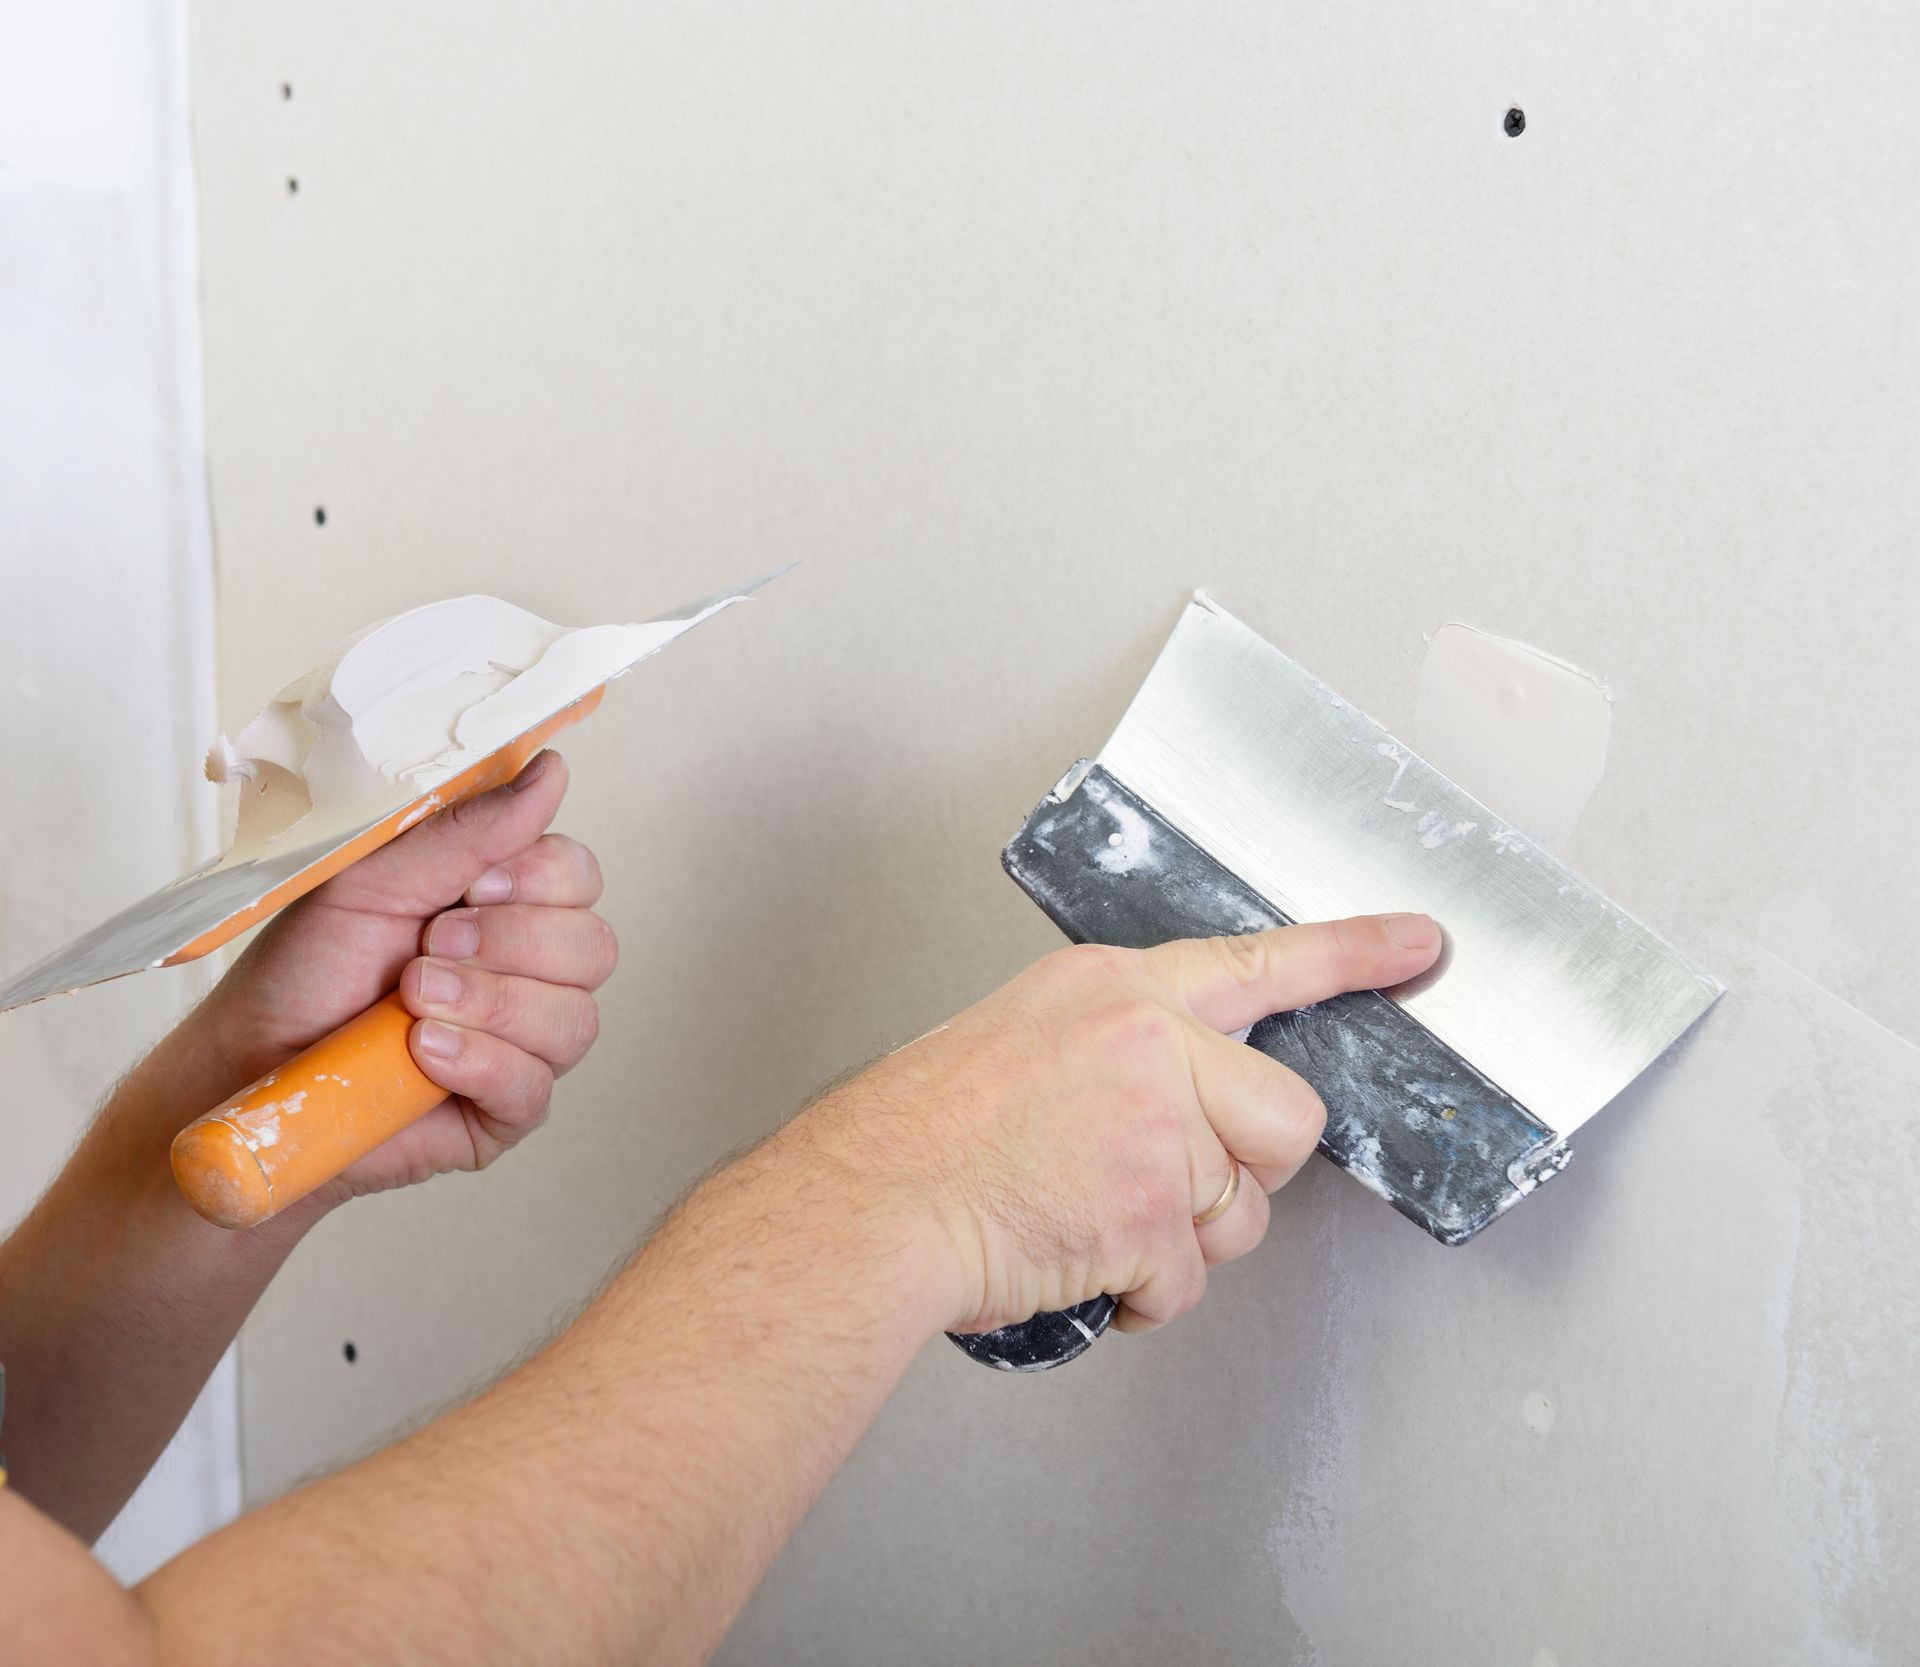
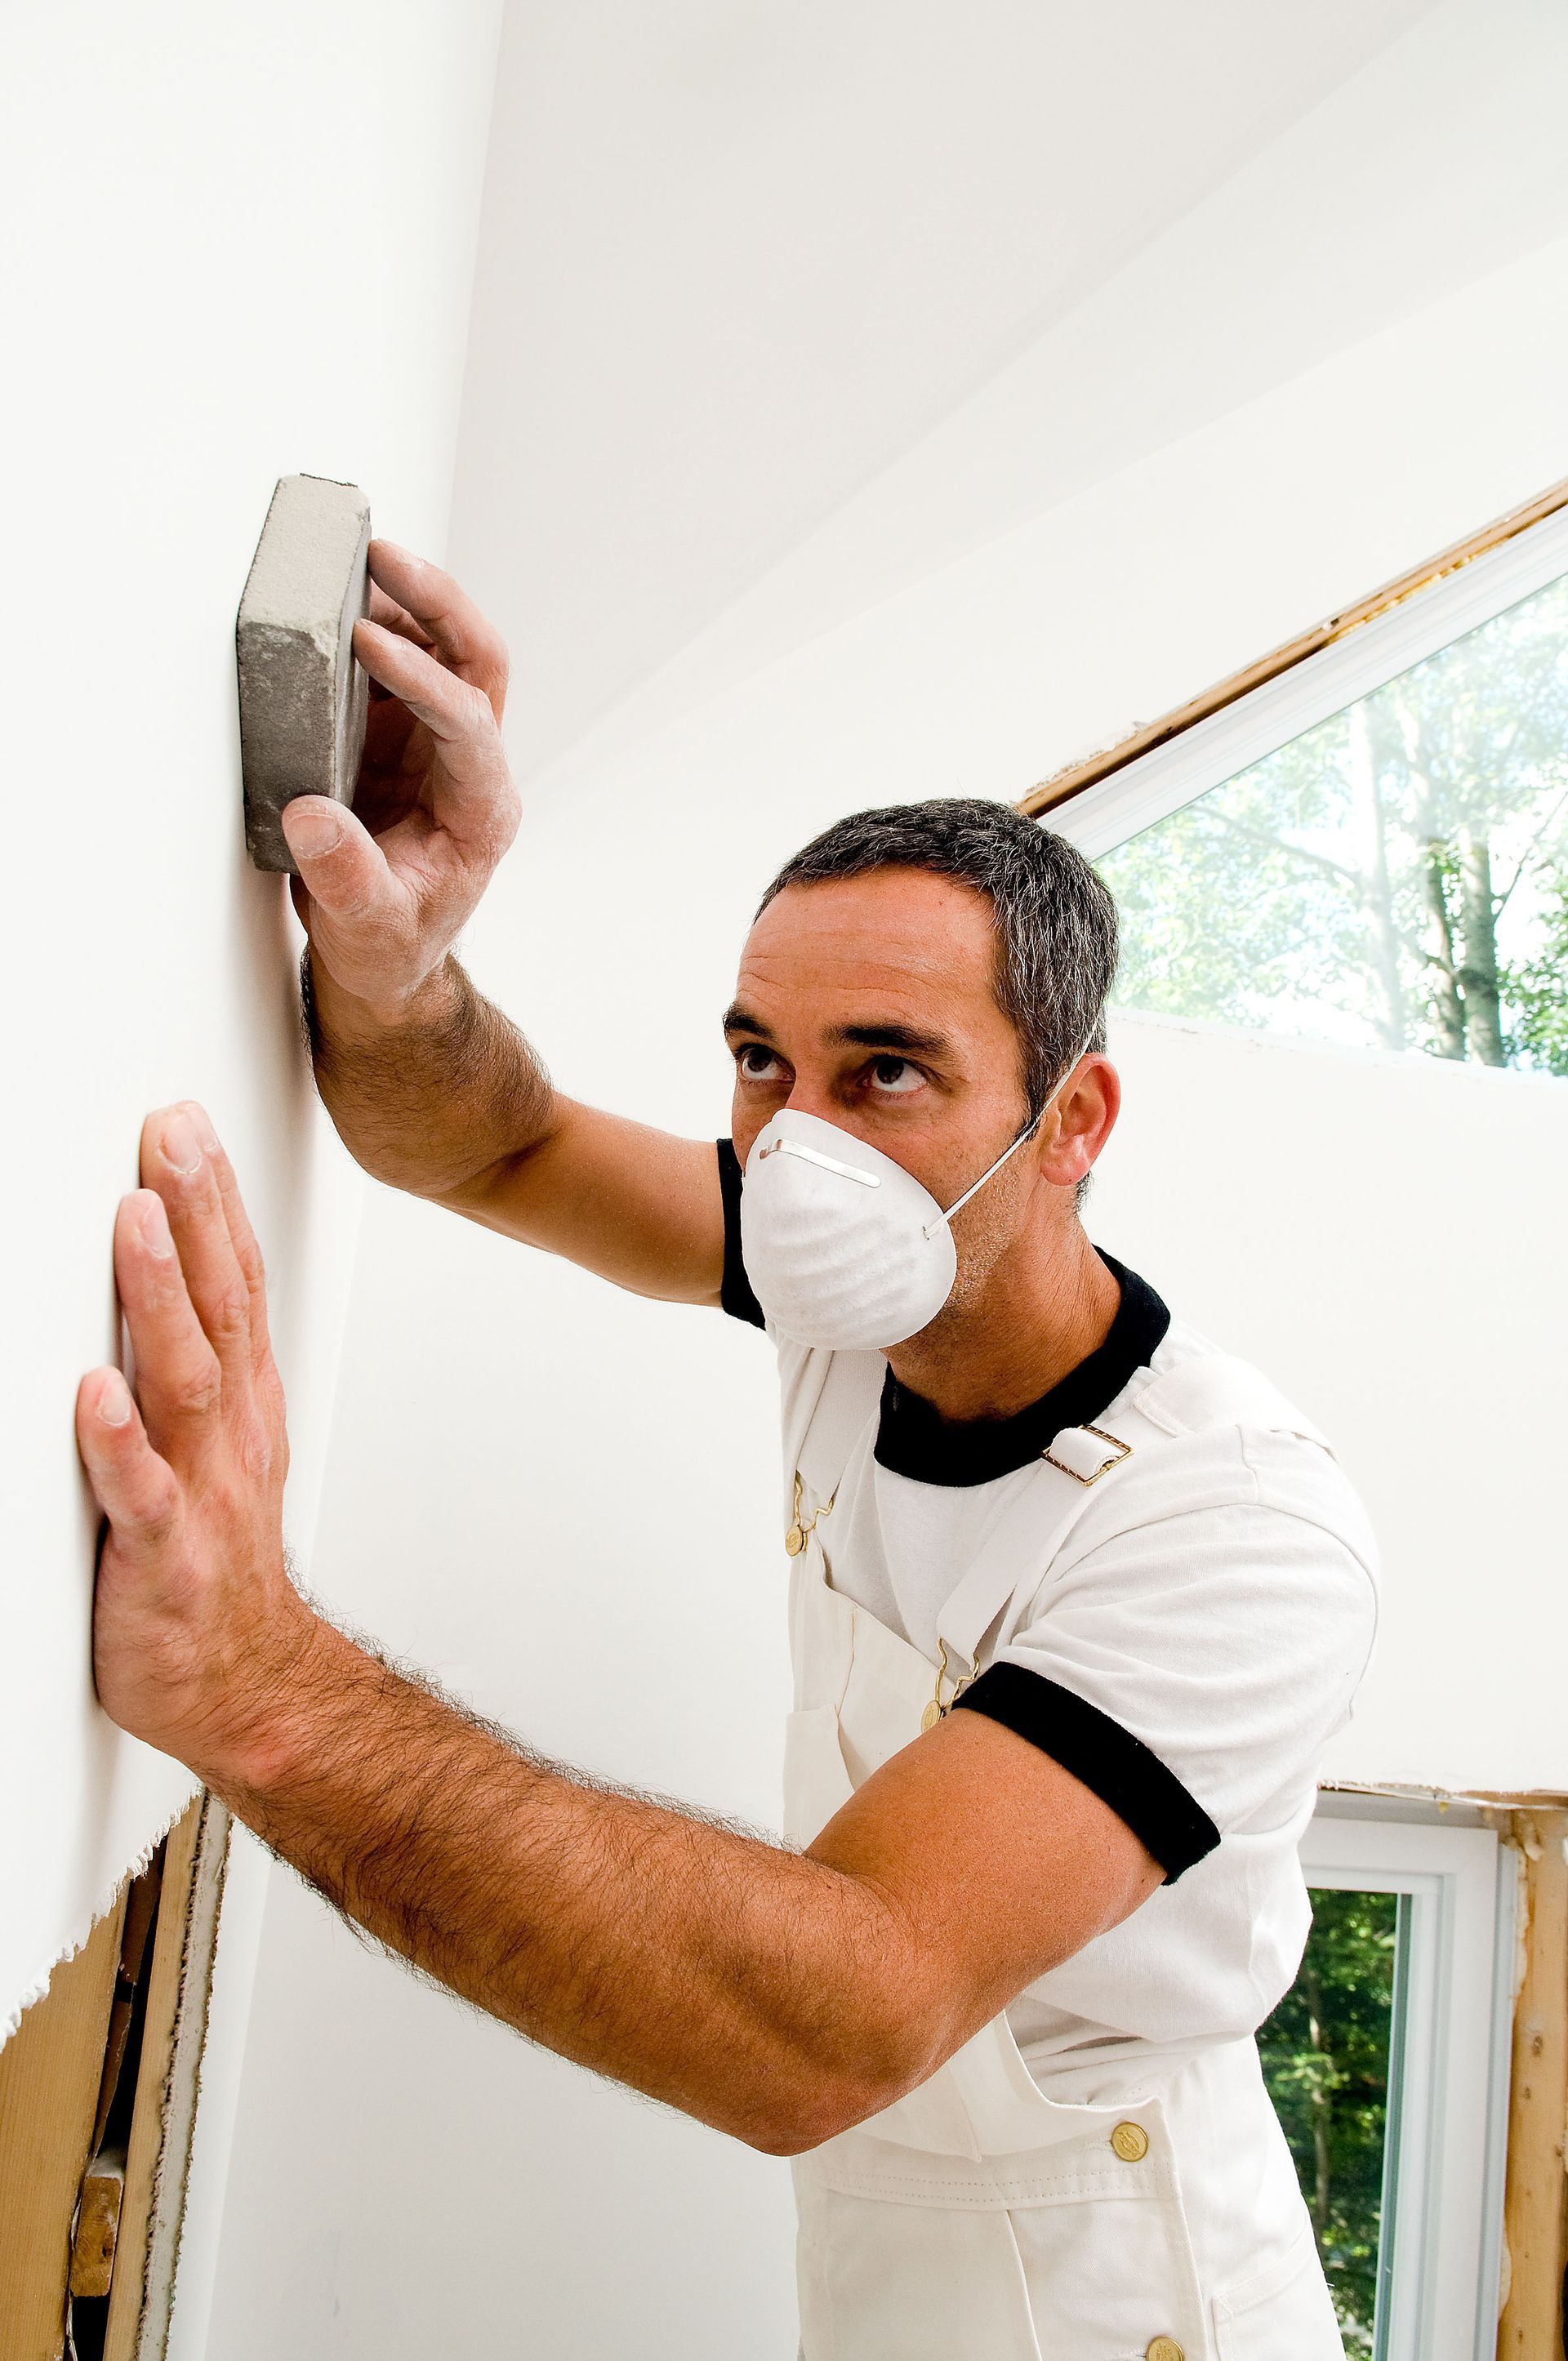
Many homeowners are surprised by how quickly the hanging stage can move once the framing is ready. According to Home Guide, drywall takes as little as 72 hours to hang. Hanging is only one part of the job, though, since taping, applying joint compound, sanding, and finishing all take additional time. Each coat of compound needs to dry before the next one goes on, and the finish needs to be smooth before painters can begin. Understanding the full sequence helps you set realistic expectations and plan the trades that come after drywall, so there's no downtime between stages. A clear timeline also makes it easier to schedule deliveries, plan around family routines, and know when each room will be usable again.
Preparing the Space Before Work Begins
An efficient drywall project starts before the first sheet arrives. Framing should be complete, straight, and properly spaced, and all electrical, plumbing, and HVAC rough-ins should be finished and inspected. Any changes made after the walls are closed up can mean cutting into new drywall, which adds time and cost. Clearing furniture, protecting floors, and giving crews easy access to the work area also helps the job start on schedule. Taking care of these details up front lets our team focus on getting your walls and ceilings up quickly and correctly. A quick walkthrough before installation day also gives everyone a chance to confirm outlet locations, lighting placement, and any last-minute design changes.
Coordinating With Other Trades
Renovations usually involve several trades working in a specific order, and drywall depends on the ones that come before it. Electricians, plumbers, and HVAC installers need to finish their rough work, and insulation needs to be in place before walls can be closed. When schedules aren't coordinated, crews may show up to a space that isn't ready, which can push the whole project back. We regularly work alongside general contractors and builders, and our experience coordinating drywall installations with other trades helps keep projects moving without unnecessary gaps or overlaps. Sharing a simple schedule with every trade helps everyone know when to arrive and what needs to be finished before they do.
Handling Permits and Inspections
Many renovation projects require permits, and some inspections need to happen before drywall can go up. If those steps are missed, you may face delays or even be required to remove finished work so an inspector can see what's behind it. Planning for permits early keeps your timeline from stalling at a critical point. We handle required building and construction permits for our projects, which takes one more task off your plate and helps the work stay on schedule from the start. It also gives you peace of mind knowing the work meets local building requirements.
Choosing the Right Materials for Each Room
Not every room calls for the same type of drywall. Bathrooms, laundry rooms, and basements often benefit from moisture-resistant panels, while garages and certain shared walls may require fire-rated board to meet code. Ordering the correct materials ahead of time prevents last-minute changes and return trips to the supplier. Accurate measurements also help reduce waste and keep enough material on hand to finish without interruption. Planning these details before installation day helps your drywall installations go smoothly and keeps the project moving forward. If you're unsure which products a room needs, our team can recommend the right options during your estimate.
Hanging Drywall With Fewer Seams
Smart layout can make a big difference in both speed and quality. Using larger panels where possible reduces the number of seams that need to be taped and finished, which can shorten the finishing stage. Careful placement around windows, doors, and corners also helps prevent cracks from forming later. Experienced installers know how to plan sheet placement so walls and ceilings go up efficiently while still creating a strong, smooth surface. That attention to detail during hanging saves time once taping and finishing begin. Well-planned drywall installations also use fewer cut pieces, which means less waste and a cleaner job site.
Allowing Proper Drying Time Between Coats
Joint compound needs time to dry between coats, and rushing this step can lead to shrinking, cracking, or bubbling that has to be fixed later. Drying time depends on temperature, humidity, and airflow in the room. Here in Minnesota, cold winters and humid summers can both affect how quickly compound dries, so it's important to keep the space at a steady temperature with good ventilation. Planning around drying time from the beginning helps your schedule stay realistic. Our crews monitor conditions closely, so each coat is ready before the next step begins. Running a dehumidifier or space heater when needed can also help compound cure evenly without slowing the overall schedule.
Selecting the Right Finish and Texture
The finish you choose affects both the look of your walls and the length of the project. A smooth finish ready for paint is common in most homes, while skim coating can create an even smoother surface for areas with lots of natural light. Textured finishes can add character and help hide minor imperfections, and decorative plaster or Venetian finishes create a high-end, custom look. Deciding on your finish early allows us to plan the right materials and time for the job. We offer skim coating, plaster texture, and decorative Venetian plastering to match your style. Looking at samples in your own lighting can help you choose a finish you'll be happy with for years.
Avoiding Costly Rework
One of the best ways to keep a renovation on schedule is to get the work right the first time. Poorly hung or finished drywall can show seams, nail pops, and uneven surfaces that become even more noticeable after painting. Fixing those problems means extra sanding, patching, and repainting, which can delay other trades and add to your costs. Hiring experienced professionals for your drywall installations helps you avoid these setbacks. If damage does happen during the project, our patching and repair services can restore the surface quickly. Catching small issues early, before paint goes on, keeps your project on track and your finished walls looking their best.
At McCloskey Drywall Inc, we've spent more than three decades helping homeowners, builders, and general contractors throughout the Twin Cities Metro, including Minneapolis and St. Paul. We're fully licensed and insured, EPA-certified renovators, and we back our new
drywall installations with a one-year warranty. From wallboard installation and finishing to repairs, skim coating, and decorative plaster, our team works efficiently to keep your renovation moving. We also offer free on-site estimates and handle required permits for your project. New customers can also save on their first project. Contact McCloskey Drywall Inc today to schedule your free estimate.